If you’re building a web or mobile app and want to use AWS S3 to store images, files, or documents, learning how to set up the AWS CLI and IAM is a critical first step.
In this guide, we’ll break it down step-by-step no prior AWS experience required.
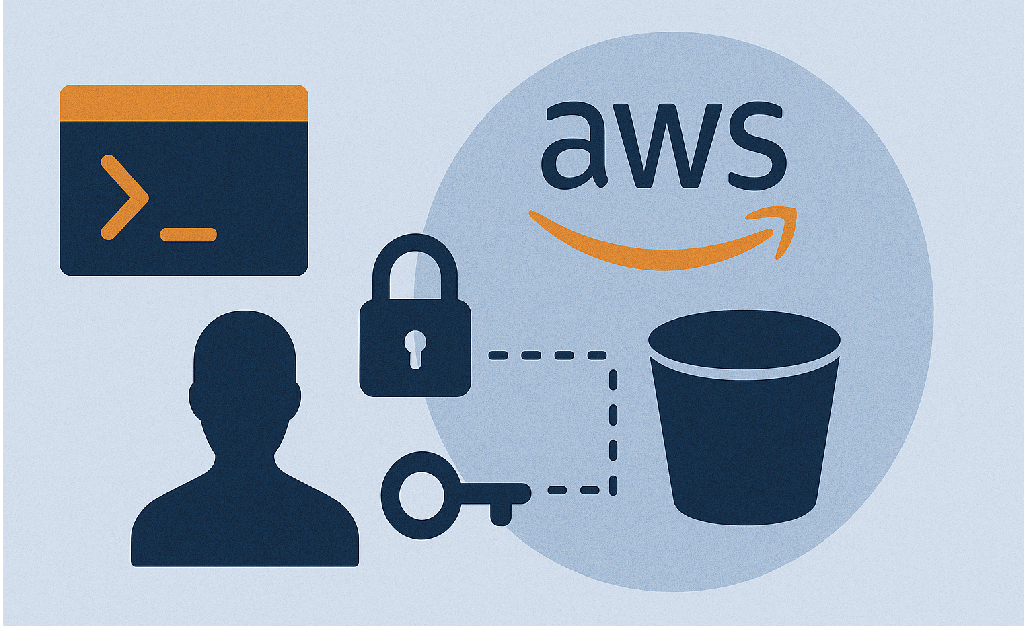
What You’ll Learn
How to install and configure the AWS CLI
How to create an IAM user with S3 permissions
How to connect the CLI to your IAM user
How to test S3 access using CLI commands
Step 1: Install the AWS CLI
The AWS CLI (Command Line Interface) allows you to control AWS from your terminal.
Navitagate to this URL https://docs.aws.amazon.com/cli/latest/userguide/getting-started-install.html then scroll to AWS CLI install and update instructions
For installation instructions, expand the section for your operating system.
You will see 3 Operating Systems MacOS, Linux and Windows.
In this tutorial we going to focus on the installion on the MacOS. When u click on the MacOS panel u will the instructions Install and update requirements and Install or update the AWS CLI
On Install or update the AWS CLI
You are going to see 3 Horizonal tabs with labels GUI installer, Command line Installer – all users and Command line – Current user.
So we going to go with the Gui Installer you follow the process by downloading with this link In your browser, download the macOS pkg file: https://awscli.amazonaws.com/AWSCLIV2.pkg and once its is downloaded. Open the pkg file and follow the prompt to install the AWS Cli.
Step 2: Create an IAM User in AWS
Go to IAM Console
Click Users > Add user
Username:
my-s3-userSelect Programmatic access
Click Next: Permissions
Choose Attach policies directly
Search for and select:
AmazonS3FullAccess(or custom policy — see below)
Optional (Best Practice): Create a custom policy that limits access to one bucket only.
Example Custom IAM Policy (Write Access to One Bucket)
{
  "Version": "2012-10-17",
  "Statement": [
    {
      "Effect": "Allow",
      "Action": ["s3:PutObject", "s3:GetObject"],
      "Resource": "arn:aws:s3:::my-app-bucket/*"
    }
  ]
}
Apply this if you want more control over your app’s security.
Step 3: Save Access Credentials
After creating the user:
AWS will give you an Access Key ID and a Secret Access Key
Copy and save these securely (you won’t see the secret again!)
Step 4: Configure the AWS CLI with IAM Credentials
Open your terminal and type
aws configure
You’ll be prompted for:
AWS Access Key ID: xxxxxxxxxxxxxxxxxAWS Secret Access Key: xxxxxxxxxxxxxxxxxxxxx
Default region name [e.g. us-east-1]: us-east-1
Default output format [json]: json
This saves your credentials to ~/.aws/credentials.
Step 5: Test S3 Access from the CLI
Upload a file:
aws s3 cp my-image.jpg s3://my-app-bucket/uploads/my-image.jpg
Download a file:
aws s3 cp s3://my-app-bucket/uploads/my-image.jpg ./downloaded.jpg
List files:
aws s3 ls s3://my-app-bucket/uploads/
Best Practices for IAM + AWS CLI
| Best Practice | Why It Matters |
|---|---|
| Don’t use root account credentials | Too powerful, not secure |
| Use separate IAM users for each app | Easier to track and revoke |
| Limit access to only what’s needed | Follows the “least privilege” rule |
| Rotate keys regularly | Reduces risk if exposed |
| Use IAM roles for servers/apps | More secure than hardcoding keys |
Recap
Now you know how to:
Install and set up AWS CLI
Create a secure IAM user
Grant S3 access via policy
Upload and download files via the CLI
With this foundation, you can easily integrate S3 into your web, mobile, or backend app securely.
Related reads:
- How to Set Up an S3 Bucket on AWS (Best Practices for Beginners)
- Understanding AWS IAM: The Key to Cloud Security for Beginners
- How to Show Some Files from a Private S3 Bucket — While Keeping Others Hidden
External resources: