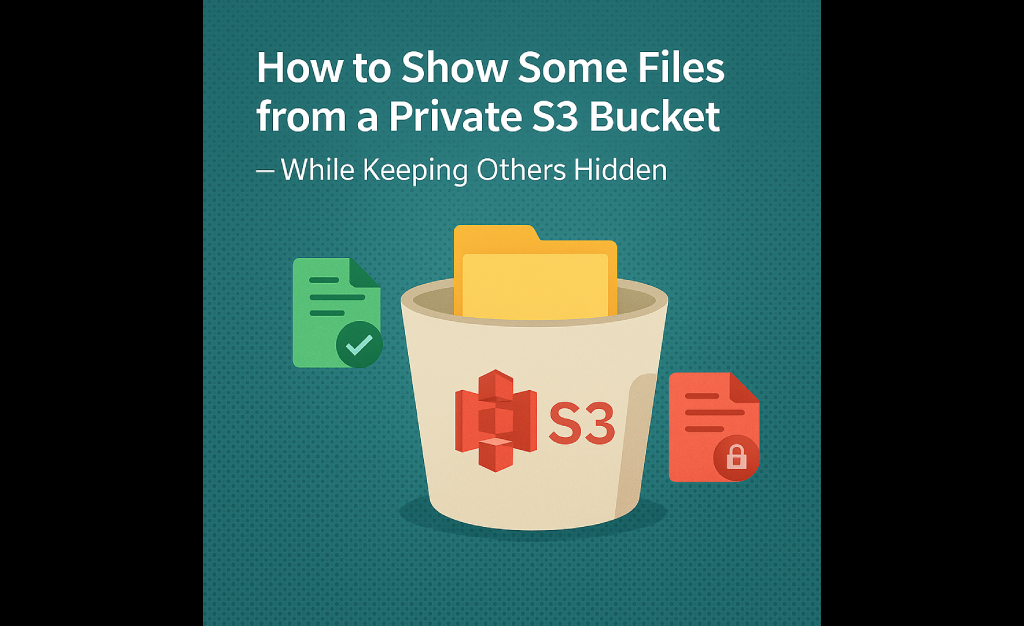
When building apps that store files like images, PDFs, or videos using Amazon S3, the best practice is to keep your S3 bucket private. But what if you want to:
Hide sensitive files
Show only allowed files to specific users
Still serve public assets like profile pictures or logos?
Good news: you can do all this securely using pre-signed URLs and smart folder organization.
Let’s walk through how.
Why You Shouldn’t Make Your S3 Bucket Public
While you can make your bucket public, it’s strongly discouraged:
Anyone can access your files
Search engines might index them
No access control
Instead, keep the bucket private and generate secure, temporary URLs when users need to access private files.
Basic Setup
Here’s a typical setup using AWS S3 with a backend and a frontend app:
S3 Bucket: private by default
Backend (e.g., Strapi or Node.js): handles file uploads and generates access links
Frontend (e.g., React Native app): fetches files only for authorized users
Organize Your S3 Bucket for Access Control
Use prefixes (folders) to separate file types and control access:
<pre>s3://my-app-bucket/
├── public/
│ └── avatars/
├── clients/
│ ├── 001/
│ │ └── journal.pdf
│ │ └── mood-chart.png
│ └── 002/
│ └── mood-chart.png
├── internal/
│ └── admin-reports/
</pre>
Explanation:
/public/→ Used for public files like profile pictures./clients/001/→ Private files for user ID 001./internal/→ Admin-only files (e.g., internal reports).
This structure makes it easy to control access based on folder paths.
How to Show Private Files Securely: Pre-Signed URLs
A pre-signed URL is a secure link to a private S3 file that:
Expires after a short time
Can’t be reused or bookmarked
Is safe to send to the frontend
Backend Code: Generate Pre-Signed URL (Node.js)
const AWS = require('aws-sdk'); // Load AWS SDK
// Configure AWS S3 with your credentials
const s3 = new AWS.S3({

accessKeyId: process.env.AWS_ACCESS_KEY_ID, secretAccessKey: process.env.AWS_ACCESS_SECRET,
  region: process.env.AWS_REGION,

});
// Function to generate a pre-signed URL
const getPresignedUrl = (key) => {

  const params = {

    Bucket: process.env.AWS_BUCKET_NAME,
// Your S3 bucket name
Key: key, // File path in the bucket
Expires: 300, // Expiry time (300 seconds = 5 minutes)
};
return s3.getSignedUrl('getObject', params);
};Explanation:
getSignedUrl()creates a temporary access link.The
Expiresvalue defines how long the link will work (e.g., 5 minutes).This URL can be used to fetch the file securely without making the bucket public.
Add This to Your Strapi Controller
module.exports = {

  async getFile(ctx) {
const { key } = ctx.query; // Extract file key from query (e.g., clients/001/journal.pdf)
// Make sure the user has permission to access the file
if (!ctx.state.user || !key.includes(`clients/${ctx.state.user.id}/`)) {
return ctx.unauthorized('Access denied.');
}
// Generate secure, time-limited link
    const url = getPresignedUrl(key);

    ctx.send({ url });

  },

};
Explanation:
ctx.state.usercontains the authenticated user.The
ifcheck ensures users can only request their own files.If allowed, the signed URL is generated and returned.
React Native Frontend Code
// Call your backend to get the signed URL
const response = await fetch(`${API_URL}/api/get-file?key=clients/001/journal.pdf`);
const { url } = await response.json();
// Use the URL to open or display the file
Linking.openURL(url); // Opens in browser
// OR

<Image source={{ uri: url }} />
// Displays image in the app
Explanation:
You request the file from your backend, not directly from S3.
You then use the returned URL temporarily — it expires automatically.
This keeps things secure while offering users access when needed.
For Public Files: Set Bucket Policy
You may have files (like logos or banners) that are okay to show publicly. In that case:
Place them in a
/public/folder.Add this policy to your S3 bucket:
{

  "Sid": "PublicReadGetObject",
"Effect": "Allow",
"Principal": "*",
"Action": "s3:GetObject",
  "Resource": "arn:aws:s3:::my-app-bucket/public/*"

}
Explanation:
This allows anyone to access files under
/public/The rest of the bucket stays private
Great for assets like default avatars or app logos
Best Practices at a Glance
| Strategy | Why It’s Good |
|---|---|
| Keep your bucket private | Prevent accidental leaks |
| Use folder prefixes (/public/, /clients/) | Simplifies access control |
| Use pre-signed URLs | Secure, short-lived file access |
| Validate user access before signing | Prevents sharing someone else’s data |
| Set URL expiry (3–5 mins) | Minimizes the risk of misuse |
Final Thoughts
You don’t have to make your S3 bucket public or complex. Instead:
Use folder structure to segment access
Use pre-signed URLs for sensitive content
Use bucket policies for safe public content
This approach keeps your app secure, organized, and user-friendly — exactly what you want in a modern mobile or web app.
Related reads:
- How to Set Up an S3 Bucket on AWS (Best Practices for Beginners)
- Understanding AWS IAM: The Key to Cloud Security for Beginners
- How to Set Up AWS CLI and IAM for S3 Bucket Access (Beginner-Friendly Guide)
External resources: